
How to Verify Car Aero Kit Fitment
Editorial Team · October 31, 2026
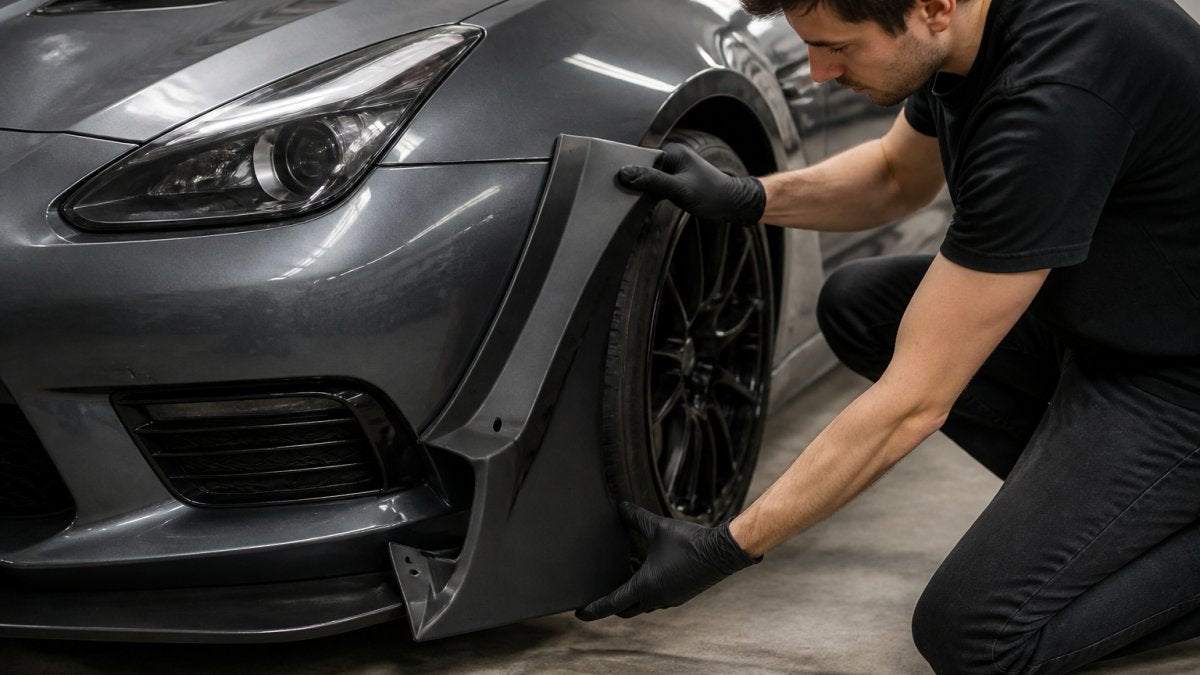
Last Updated: November 1, 2026
Quick Summary
Aero kit fitment starts by matching your exact year, make, model, chassis code, body style, and trim before buying. Measure factory reference points like bumper mounting flange spread and fender-to-fender span, then compare them to the part dimensions. Always test fit the unpainted part before paint or drilling.
- Confirm your build date, chassis code, body style, trim, and pre-facelift or facelift status before buying.
- Measure bumper mounting flange spread center-to-center between the outermost factory bumper bracket bolts.
- Record headlight housing gaps left and right separately, since asymmetry is common on older cars.
- Test fit the unpainted kit with bolts finger-tight and check panel gaps before any paint.
- If something rubs, adjust the mounting or trim the part, never drill the car to force a fit.
Table of Contents
- Start With Aero Kit Compatibility by Year, Make, and Model
- How to Measure a Car for a Body Kit
- Compare Part Dimensions Against Your Chassis and Trim
- Locate Body Kit Mounting Points and Check Your Hardware
- Test Fitting an Unpainted Body Kit Before Paint
- Check Clearances, Tolerances, and Interference
- Pick the Right Aero Kit for Your Build
- Frequently Asked Questions
Start With Aero Kit Compatibility by Year, Make, and Model
Aero kit fitment starts with one hard rule: the part must match your exact year, make, model, and trim before anything else matters. Get that wrong and no amount of measuring will save the install.
A common mistake is for a buyer to fall for a bumper photo, order fast, and then find the mounting points sit two inches off. The fix is boring but reliable: confirm the chassis code first.
Here is what to pin down before you buy:
- Year range: confirm your build date, not just the model year
- Chassis code: E46, G30, F22, G20 and so on
- Body style: sedan, coupe, convertible, or wagon
A listing that says "fits 3 Series" is not a fitment listing. A listing that says "2000-2006 E46 sedan, coupe, convertible" is. That second one tells you the aero kit fitment was actually engineered for a specific chassis.
How to Read a Fitment Listing Without Getting Burned
Read the fitment block before the product photos. Every time.
Look for three things. First, an explicit year range. Second, a chassis code. Third, a clear note on what the part does NOT fit.
That last one matters more than people think. For example, our E46 M3 style front bumper conversion kit states plainly that it does not fit an actual E46 M3 and that dimensions are not identical.

Watch out: listings that hide exclusions in small print at the bottom are the ones that burn people. If the fitment block is vague, walk away.
How to Measure a Car for a Body Kit
Measure the car before you order, not after. Grab a tape measure, a notebook, a helper, and 20 minutes.
Work from fixed factory reference points, not eyeballed edges. Aero parts are generally located off the factory bumper's mounting points, so measure from those:
- Bumper mounting flange spread: center-to-center distance between the two outermost factory bumper bracket bolts
- Fender-to-fender span: outside edge of the left fender to outside edge of the right fender, measured at the same height on both sides
- Headlight housing gap: bumper edge to headlight housing on both sides, record left and right separately, because asymmetry is common on older cars
- Hood-to-bumper shut line: vertical gap at the center and at both corners
- Ground-to-lower-edge height: from the floor to the bottom edge of the factory bumper cover at the center and at each corner
- Wheel arch-to-bumper corner distance: how far the bumper corner sits from the wheel arch opening on each side
- Grille and fog light opening width and height: measure the factory openings, since aftermarket covers often reuse the factory inserts
Write every number down and photograph each measurement with the tape in frame.
Now compare those numbers to the part dimensions in the listing. A small difference is normal on aftermarket parts. A large one means the part is wrong for your car. If the seller publishes overall width but not mounting flange spread, ask before you buy, flange spread is the number that decides whether the part bolts on or fights you.
This is the step most buyers skip. It is also the step that catches problems before money changes hands.
Measure from these factory reference points before you order, and record each number with a photo.
| Measurement | What to measure | Note |
|---|---|---|
| Bumper mounting flange spread | Center-to-center of outermost factory bumper bracket bolts | Decides whether the part bolts on |
| Fender-to-fender span | Outside edge of left fender to right fender, same height | Laser meter helps; tape can sag |
| Headlight housing gap | Bumper edge to headlight housing | Record left and right separately |
| Hood-to-bumper shut line | Vertical gap at center and both corners | , |
| Ground-to-lower-edge height | Floor to bottom edge of factory bumper cover | Measure center and each corner |
| Wheel arch-to-bumper corner distance | Bumper corner to wheel arch opening | Measure each side |
| Grille and fog light openings | Width and height of factory openings | Aftermarket covers often reuse factory inserts |
Compare Part Dimensions Against Your Chassis and Trim
Part dimensions must line up with your chassis and trim, or the install will fight you the whole way.
Compare these against the listing:
- Overall width and height
- Mounting point locations
- Fog light and sensor cutouts
A G30 owner, for instance, needs the pre-LCI version. Our G30 M5 style front bumper conversion kit is built only for the 2017-2020 pre-facelift car.

Check the part number against factory specifications where you can. Cross-reference the OEM part it replaces.
Locate Body Kit Mounting Points and Check Your Hardware
Body kit mounting points are the bolt locations where the new part attaches to the car.
The conversion kits reuse your OEM hardware, so no separate fasteners are needed.
2000-2006 BMW 3 Series (E46) M3 Style Front Bumper Conversion Kit →
Here is the hardware checklist:
- Count the mounting points on the car
- Count the matching points on the new part
- Inspect factory bolts and clips for rust or damage
Watch out: stripped or missing factory clips can cause problems. Check them before install day.
If the mounting points do not align, stop. Do not drill to force a fit. That is how panels end up crooked and warranties get voided.
Test Fitting an Unpainted Body Kit Before Paint
Test fitting an unpainted body kit is the single most important step in the whole process. Before you drill, trim, or mock up the part, review the performance aero kit warranty facts that drilling and pre-paint fitting can affect.
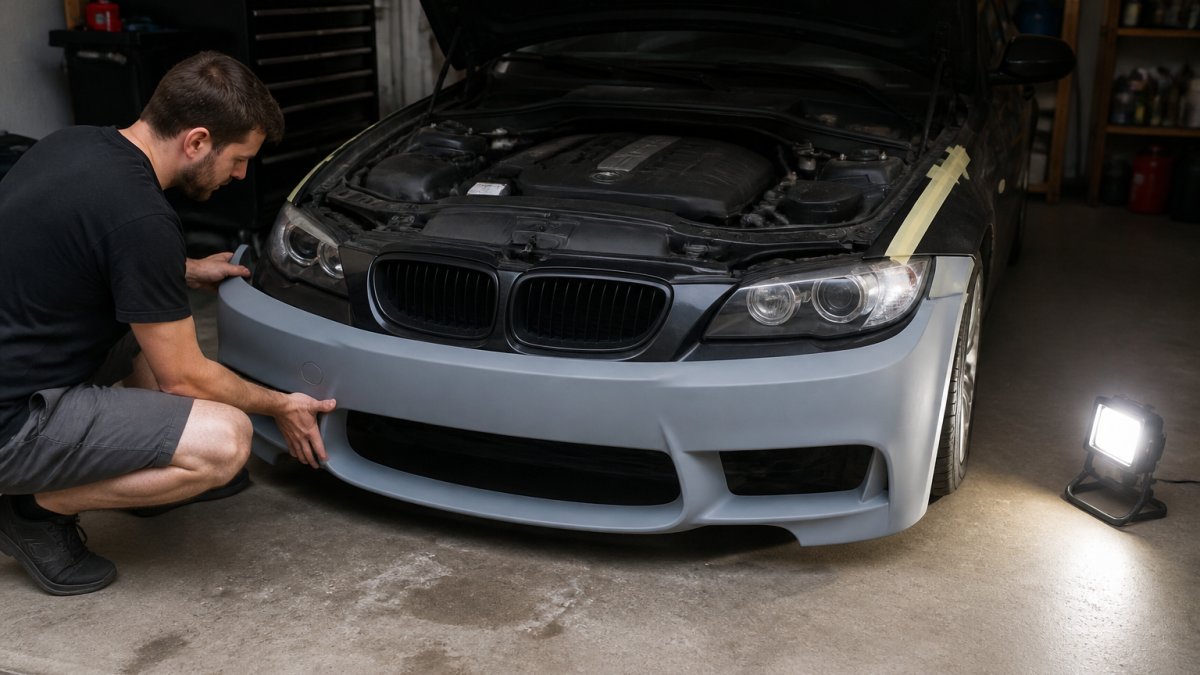
Hang the part on the car with a few bolts finger-tight. Step back. Look at the gaps.
Then check these:
- Panel gaps on both sides of the bumper
- Alignment with the hood and fenders
- Headlight and grille spacing
Take photos from three angles. Mark any tight spots with tape.
Check Clearances, Tolerances, and Interference
Clearance is the gap between the new part and everything around it. Tolerance is how much variation is acceptable. Both decide whether the kit fits well or rubs, and unlike most fitment guides, this section treats them as aero-kit problems, not wheel problems.
Check the areas that actually interfere on aero parts
- Tire-to-fender and tire-to-liner gap at full steering lock, both directions
- Splitter-to-ground clearance at the leading edge, measured loaded (driver in the seat, half tank of fuel)
- Splitter-to-tire gap at full lock, the most common rub point on lowered cars
Turn the wheels lock to lock. Bounce the suspension by hand at each corner. Open and close the trunk or hatch through its full range. Listen and look for contact.
Match the check to the material
Different aero materials behave differently during test fitting, and the clearance check should reflect that:
- Fiberglass: stiff, minimal flex, and it cracks rather than bends. Gaps that would close with a little pressure on plastic will not close here, trim or adjust the bracket instead of forcing it.
- Polyurethane: flexible and forgiving, but it can sag or deflect at speed. Check clearance with the part supported as it will be on the car, not hanging free.
- ABS plastic: semi-rigid and heat-sensitive. Check clearance after the part has sat in the sun, since thermal expansion can close a gap that looked fine in a cool garage.
Judge tolerances like a body shop, not a spec sheet
A few millimeters of gap is normal on aftermarket parts. Contact is not. Use these practical checks instead of vague "it fits" claims:
- Panel gaps: compare the new part's gap to the factory gap on the opposite side. A consistent gap that matches the car's existing gaps reads as factory; an uneven gap does not.
- Flushness: run a straightedge across the part-to-fender seam. A step of more than a couple of millimeters is visible and will collect dirt.
- Symmetry: measure the same gap on the left and right. If they differ, the part is not centered or one bracket is off.
- Alignment: sight down the body line from the front corner. The new part should continue the factory line, not break it.
Run the road-use safety check before you drive
Fitment on a lift is not the same as fitment at speed. Before the first drive:
- Confirm every fastener is torqued and every clip is seated
- Push and pull the part by hand, it should not move independently of the car
- Check that the part does not block headlights, turn signals, or license plate visibility
- Verify ground clearance on your actual route, including driveway aprons and speed bumps
Once the kit is on and aligned, plan for upkeep.
Pick the Right Aero Kit for Your Build
Picking the right kit comes down to three things: your chassis, your goal, and your budget. A daily driver and a track build need different parts.
Ask yourself:
- Is this for looks, downforce, or both?
- Will the car see track time or just street duty?
- Do I want a bolt-on kit or a full conversion?
- What is my paint and install budget?
New to performance parts? Start with this beginner's primer on automotive performance parts to make an informed choice.
Our catalog is organized around specific chassis, not generic fit.
Frequently Asked Questions
How do I know if an aero kit will fit my car?
Confirm four things before you order: your exact year, make, model, and trim; the kit's stated fitment range; the part's dimensions against your chassis; and whether the mounting points match your factory hardware. Aero kit fitment starts with the listing, not the photo. If the seller says the kit fits 2017-2020 models of your car but you drive a facelifted version, it does not fit. Measure your car and dry fit the part before paint.
What information do I need to check aero kit compatibility by year, make, and model?
Pull your VIN and decode it, or check the door jamb sticker for the production date. Note the generation code (for example, E46 or G30), the body style (sedan, coupe, convertible, wagon), and whether your car is pre-facelift or facelifted. Trim matters less than generation and body style on most kits, but sensor packages like parking sensors and fog lights change what you order. Write all of it down before you shop.
Should I test-fit an aero kit before painting it?
Yes, always. Body kits ship as unfinished products, often in raw plastic or unprimed steel, so a test fit costs you nothing but time. Bolt the part on loosely, check panel gaps, confirm the mounting points line up, and verify clearance around the tires and suspension. Paint only after the dry fit passes.
What should I do if an aero kit does not line up with the factory mounting points?
Stop and diagnose before you drill. Check that the part is seated correctly and that you are using the right hardware, since many kits reuse OEM fasteners. If the mounting points are genuinely offset, confirm you received the correct part number for your generation and trim. Some kits require trimming or drilling by design, and a body shop can handle that. Do not force a misaligned part into place, because stress cracks follow.
Verifying aero kit fitment takes patience, but it saves money and headaches. Prop & Piston makes that easier with a performance parts finder built around specific makes and models, kits engineered to bolt onto factory mounting points, and in-stock items that ship in 1-2 business days. Every order backs that up with 30-day returns and secure checkout through Shop Pay, cards, or PayPal. Get started with Prop & Piston and order a kit that fits your chassis the first time.
