· By Editorial Team
How to Maintain Performance Aero Parts: 2026 Guide

Table of Contents
- Build a Maintenance Routine That Protects Downforce
- How to Clean Carbon Fiber Car Parts Without Damaging the Finish
- Front Splitter Inspection and Maintenance Step by Step
- Rear Spoiler Mounting Hardware: What to Torque and Check
- Aero Parts Damage Repair: When to Fix, Seal, or Replace
- How Maintenance Affects Aerodynamic Performance and Fuel Efficiency
- A Maintenance Schedule for Street, Track, and High-Speed Use
- Frequently Asked Questions
Last Updated: October 19, 2026
Build a Maintenance Routine That Protects Downforce
Learning how to maintain performance aero parts starts with one truth: carbon fiber and plastic aero pieces take a beating that the rest of your car never sees.

Aero parts are the bolt-on body components, splitters, spoilers, diffusers, and wings, that manage airflow over a vehicle. They work by shaping air, so surface condition and mounting strength both matter.
Here is the core routine:
- Rinse loose dirt off before touching the surface
- Wash with a mild detergent and a soft cloth
- Dry fully, then inspect edges and hardware
- Reapply protection to the finish
- Log the date and any damage found
That five-step loop, done on a schedule, covers most of what these parts need. Below, we break down each piece in detail.
What You'll Need Before You Start
Gather supplies before you touch the car. Chasing a rag mid-wash costs you time and invites scratches.
- Two buckets (one soapy, one rinse water)
- pH-neutral car soap, not dish detergent
- Soft microfiber cloths and a wash mitt
- Nitrile gloves
- A torque wrench
- A soft detailing brush
- UV-safe trim or carbon protectant
- A flashlight for inspection
Skip abrasive pads and harsh degreasers. They dull clear coat and dry out plastic fast. A common mistake is grabbing whatever is under the sink. That is how swirl marks and yellowing start.
How to Clean Carbon Fiber Car Parts Without Damaging the Finish
Cleaning carbon fiber car parts safely means cool surfaces, gentle soap, and no scrubbing pressure. Heat plus friction is what damages the resin and gloss coat. Work in shade and let the panel cool first.

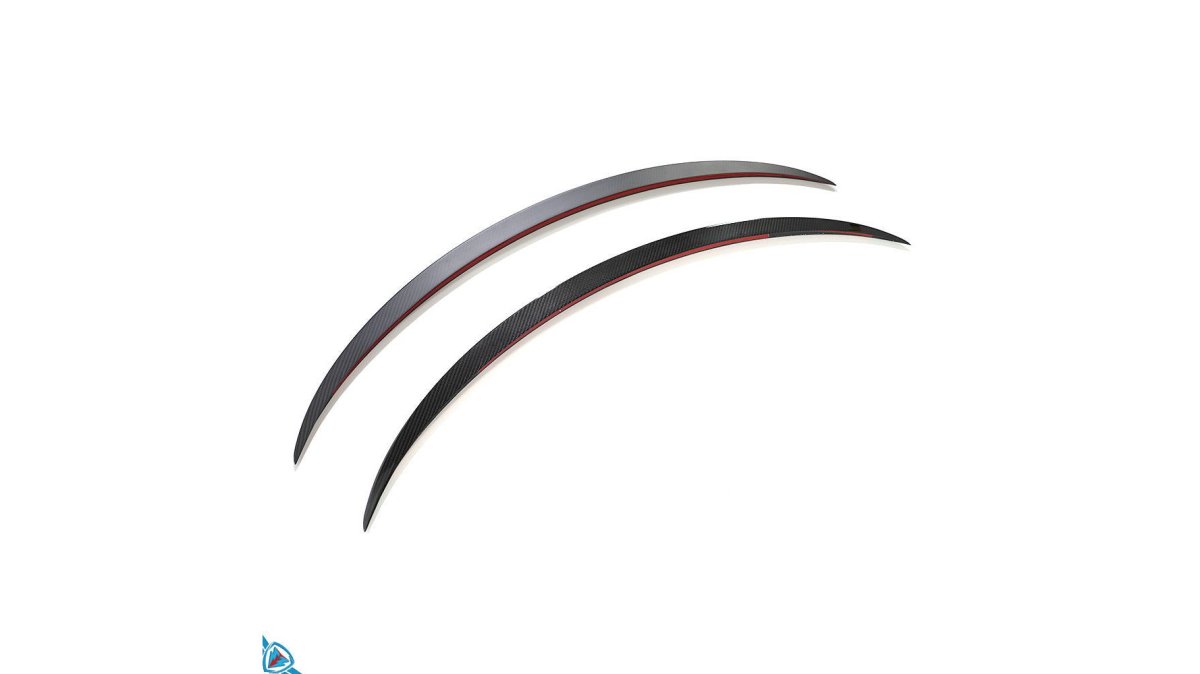
Start with the universal steps, then apply the material-specific guidance below.
- Rinse the panel with low-pressure water to lift dust. Skip this and you grind grit into the finish with the wash mitt.
- Wash top-down with pH-neutral soapy water and a soft mitt. Work in straight lines, not circles, to avoid visible swirl patterns on gloss clears.
- Use a soft detailing brush on seams, bolt holes, and the gap between the splitter and bumper where grit collects.
- Rinse again, then dry with a clean microfiber towel. Do not let water air-dry on carbon; minerals spot the clear coat.
- Apply a UV-safe protectant to the finish. UV is the slow killer of every aero part, and a sealant layer is cheaper than a re-clear.
Never use a pressure washer at close range on a splitter edge. The blast can lift clear coat or force water into mounting points.
Cleaning by Material: Dry Carbon, Wet Carbon, Fiberglass, Plastic, and Coated Metal
Different materials need different care. The table below is a starting point, but the mechanism matters more than the product name.
| Material | Clean With | Avoid | Protect With | Why It Matters |
|---|---|---|---|---|
| Dry (pre-preg) carbon | Mild soap, soft mitt, low pressure | Abrasive pads, high heat, solvent degreasers | UV-safe gloss sealant | Tight resin surface; solvents can attack the clear and heat can yellow it |
| Wet carbon | Mild soap, microfiber cloth | Solvent degreasers, aggressive polishing | Non-abrasive wax or sealant | More resin-rich surface; prone to clouding under harsh chemicals |
| Fiberglass | pH-neutral soap, soft brush | Acetone, lacquer thinner | Marine-grade wax or sealant | Gel coat is softer than carbon clear and chips more easily |
| Plastic / ABS | pH-neutral soap, soft brush | Acetone, harsh chemicals, silicone dressings on mating surfaces | Trim protectant | Solvents craze the surface; silicone interferes with tape and paint |
| Powder-coated metal | Mild detergent, soft cloth | Metal scrapers, abrasive compounds | Spray sealant | Chips expose bare metal and start corrosion |
Dry carbon, made from pre-preg sheets cured under heat and pressure, has a tighter, glossier finish than wet carbon. Our FYBR dry carbon pieces, like the 2022+ Lotus Emira LPE Pre-Preg Carbon Fiber Front Lip, carry a premium finish worth protecting.
Wet carbon is laid by hand and has more resin on the surface.
Fiberglass parts, common on budget splitters and diffusers, have a gel coat that is softer than carbon clear.
ABS plastic is the most forgiving material but also the most common source of yellowing.
Powder-coated metal brackets and hardware are structural, not cosmetic, but a chip in the coating starts corrosion that spreads under the powder coat.
A common mistake is grabbing whatever is under the sink. That is how swirl marks and yellowing start. Match the cleaner to the material, and you get years of finish life instead of months.
Front Splitter Inspection and Maintenance Step by Step
Front splitter inspection and maintenance should happen monthly and after every hard drive. The splitter takes the most abuse of any aero part. Check it often.
Work through this list:
- Look for cracks, chips, and stress marks along the leading edge
- Check that all mounting bolts are present and snug
- Confirm the splitter sits flush with the bumper
- Clear debris from behind the lip
- Test for flex by pressing gently on the center
A loose splitter is a safety issue, not just a cosmetic one. At speed, a splitter that catches air can tear away. If you find cracks near a bolt hole, stop driving hard until it is fixed.
2022+ Lotus Emira LPE Pre-Preg (Dry) Carbon Fiber Front Lip | FYBR Aerodynamics →
Rear Spoiler Mounting Hardware: What to Torque and Check
Rear spoiler mounting hardware is where most aero failures start, and it is the cheapest thing to check. Loose bolts cause vibration, and vibration cracks carbon. Check torque on a set schedule.
What to inspect:
- Bolt and bracket torque (use the spec from your part's instructions)
- Rust or corrosion on steel hardware
- Play in the wing when you push and pull it
- Sealant or gasket condition at the base
- Adhesive integrity on tape-mounted lips
Tape-mounted pieces, like our FYBR Tesla Model Y Genuine Carbon Fiber Performance Style Trunk Spoiler, rely on clean surfaces and good adhesive. If the edge lifts, clean the surface and re-press, or replace the tape. Never torque a bolt by feel alone. Use a wrench and the maker's spec.
Aero Parts Damage Repair: When to Fix, Seal, or Replace
Aero parts damage repair comes down to three outcomes: seal it, fix it, or replace it. The right call depends on where the damage sits and how deep it goes.
Use this decision guide:
- Surface scuff or light scratch: polish and seal it
- Small chip in clear coat: seal it to stop water intrusion
- Crack away from mounting points: repair with a proper carbon or plastic repair kit
- Crack at a bolt hole or bracket: replace the part
- Delamination or soft spots: replace the part
Water is the enemy of any crack. Once moisture gets into carbon or under a coating, it spreads. Seal chips early and you avoid a full replacement later.
How Maintenance Affects Aerodynamic Performance and Fuel Efficiency
Dirty, damaged aero parts hurt the very thing they were built to improve. A splitter caked in mud or a wing with a cracked edge disrupts airflow. That adds drag and cuts downforce.
Aero parts work by controlling where air goes and how smoothly it transitions. A rear wing or spoiler manages the wake behind the car.

When maintenance slips, three things happen:
- Surface contamination. Dirt, road tar, and bug film add roughness to the boundary layer. Even a thin layer of grit can trip the airflow from laminar to turbulent earlier than the designer intended, which increases drag. On a daily driver the fuel-efficiency effect is small but real; on a track car the downforce loss is more noticeable.
- Damage and cracks. A chip or crack at the leading edge of a splitter creates a flow disturbance that propagates downstream. A cracked wing end plate can reduce the wing's effective span. Delamination on a carbon part changes its stiffness, which lets it flex under load and alters the angle of attack.
- Mounting and fitment drift. Loose bolts, sagging brackets, or a splitter that has shifted back from the bumper change the gap between the part and the body. That gap is part of the aerodynamic design. A splitter that sits 10 mm too far back or too low changes the pressure balance and can increase drag or reduce front downforce. Altered ride height from worn suspension has the same effect, which is why aero checks should include a quick look at ride height and bumper alignment.
Clean, straight, properly mounted parts let air move the way the designer intended. That supports drag reduction and stable high-speed handling. On a daily driver, smooth airflow can also help fuel efficiency. It is a small effect, but real.
The takeaway is simple: care for the surface and the mounting, and the part keeps doing its job. Let grime and cracks build up, and you lose the performance you paid for.
A Maintenance Schedule for Street, Track, and High-Speed Use
How often you service aero parts depends on how you drive. Track and high-speed use demand shorter intervals. Street driving can stretch them.
| Use Type | Wash | Inspect Hardware | Full Check |
|---|---|---|---|
| Street / daily | Every 2-4 weeks | Monthly | Seasonally |
| Weekend / spirited | Every 2 weeks | Monthly | Every 3 months |
| Track / high-speed | After each event | Before and after each event | After each event |
For track cars, add a pre-session walk-around. Check the splitter edge, wing mounts, and all fasteners. High speed turns small problems into big ones fast.
For parts that need replacing, our 2017-2025 Porsche 718 Dry Carbon Fiber GT4 Style Rear Wing ships with the mounting hardware and brackets you need. Proper hardware makes the torque check straightforward.
Frequently Asked Questions
How often should you inspect a front splitter or rear spoiler?
Check both parts every two to four weeks during normal street driving, and before and after every track session. Walk around the car and look for cracks, loose bolts, and scraped edges. Push gently on the splitter and wing to feel for movement that should not be there. Any wobble or rattle means you stop and inspect the mounting hardware before driving at speed.
How do you clean carbon-fiber aero parts without damaging them?
Rinse off loose dirt first, then wash with a pH-neutral car shampoo and a soft microfiber mitt. Skip abrasive pads, harsh degreasers, and automatic brushes. Dry with a clean microfiber towel and apply a UV-resistant sealant or wax to glossy finishes. This keeps the clear coat from yellowing and makes bug and tar removal easier next time you clean your aero parts.
How can you tell if a splitter or spoiler is loose or damaged?
Look for cracked gel coat, stress marks around bolt holes, missing fasteners, and gaps between the part and the body panel. Grab the part and rock it gently. Movement, clicking, or a gap that changes means the rear spoiler mounting hardware or splitter brackets need attention. Replace stripped bolts and worn brackets right away, because a loose part can fail at highway speed.
When should damaged aero parts be repaired or replaced?
Small chips and surface scratches in the clear coat can be sealed and polished. Hairline cracks in carbon fiber or plastic can often be repaired by a body shop. Replace the part when the damage reaches the mounting points, when the structure is cracked through, or when a repair would sit in a high-load area like a splitter edge. A replacement is cheaper than a failure at speed.
Maintaining performance aero parts is not glamorous work, but it is what keeps your car looking sharp and handling right. A simple wash, inspect, and torque routine protects your investment for years. At Prop & Piston, our aero parts are built by car people for car people, with a performance parts finder to match the right kit to your make and model. In-stock items ship in 1-2 business days, and 30-day returns keep it risk-free. Shop now and give your build the care it deserves.